To many, the process of transforming a blank space into the ultimate outdoor living space, is intimating. Often times you don’t know where to start, you are scared to make the wrong the decisions, and you are crippled from lack of knowledge. And because of this, the project never has enough momentum for lift-off.
That’s where we come in. With over 35 years of landscaping, hardscaping, design, and build experience you could say, like the All-State man, “We know a thing or two, because we’ve seen a thing or two.” We pride ourselves on converting intimidating into inviting, transforming scary into special, and relieving crippled into calm.
From one client to another, here’s what the homeowners of The Redwood Project had to say about their experience:
“We chose Rosenbaum’s Landscaping for our large backyard transformation after doing research on several companies. They offered many ideas and even had a 3D design software so we could see what the project would look like. Scott and Alexander listened throughout the process and problem solved with no complaints. Their dedication to providing a quality outcome was apparent and they went above and beyond on several occasions. In the end, our backyard was transformed from dirt and grass to a beautiful patio, pavilion, and outdoor kitchen, complete with a fire pit and sitting wall, that will serve our needs and entertain our family and friends for years to come.” – Pete and Diane Holdaway
If you are still reluctant, here’s a behind the scenes walkthrough of the project from start to finish:
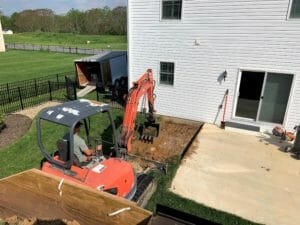
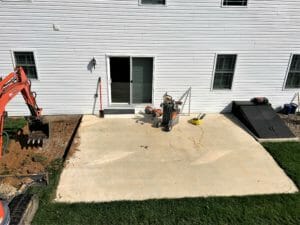
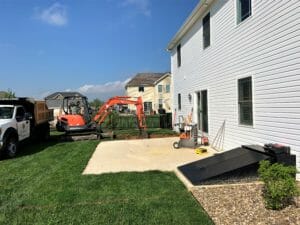
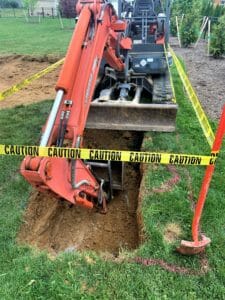
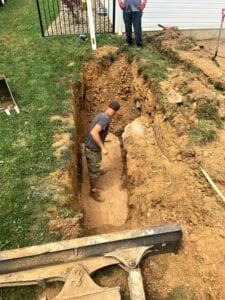
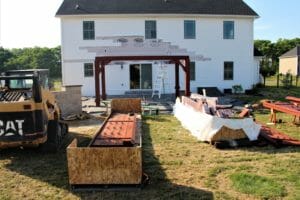
Step 1: Excavation Day
After the design is finalized and the homeowners are on board, our team will start by removing old materials from the site, plotting the property, and preparing for the fundamental items like wiring, electrical, excavating, running water, diverting pipes, removal of siding and more.
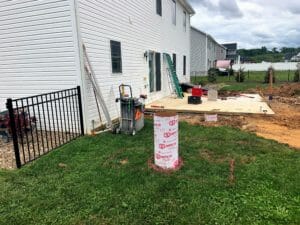
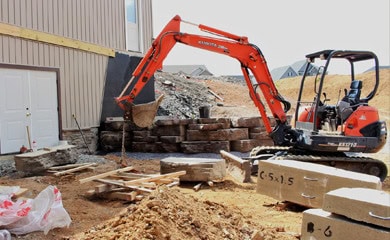
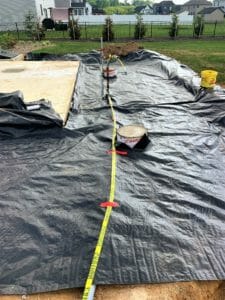
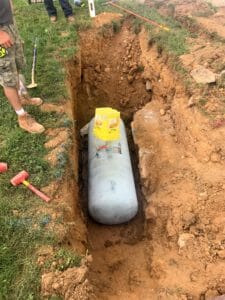
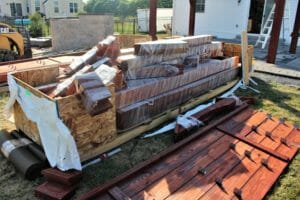
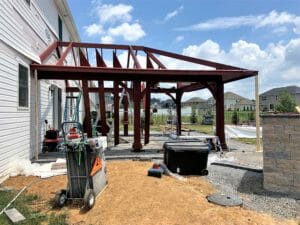
Step 2: Preparing the Foundation
Once the excavation work is finished, our team will prepare the ground for the many layers of foundation we use under patios and pavilions. Electrical was run for the outdoor fridge and ceiling fan, a propane tank was sunk in the ground to feed the firepit and concrete was poured to secure the frame of the pavilion.
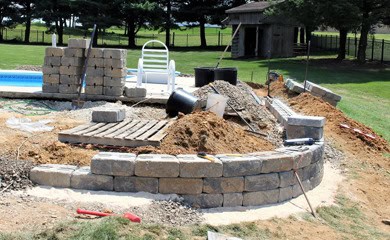
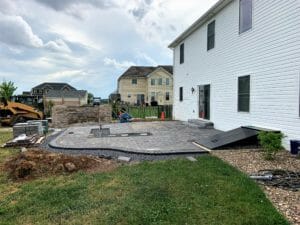
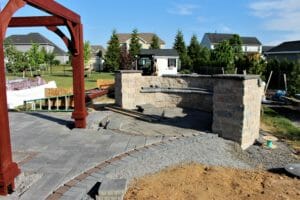
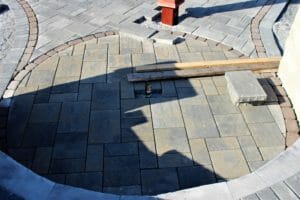
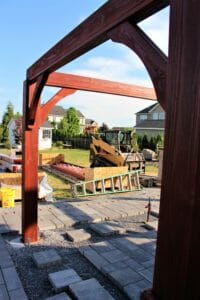
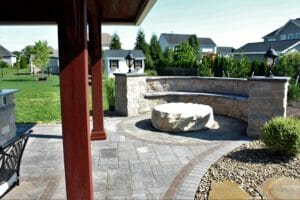
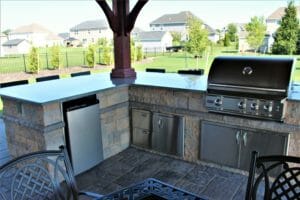
Step 3: Installing the Hardscape
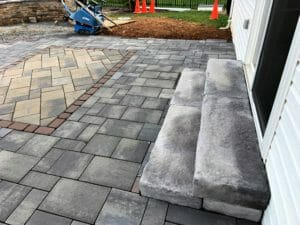
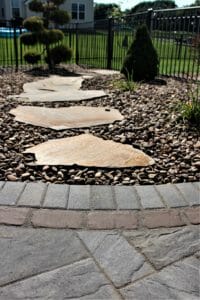
Laying the pavers, constructing the kitchen, and building the sitting wall are all significant milestones in the project. For the patio, our team has to carefully cut each paver so that it fits the design, which in this case included a border and an inlay. The purpose of an inlay design is to create contrast and define a space; think of it as an outdoor area rug that never needs to be washed! Next, the kitchen could be framed leaving space for the grill and fridge and the large half-moon sitting wall could be constructed.
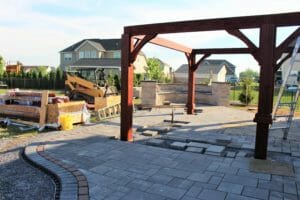
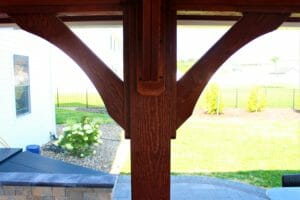
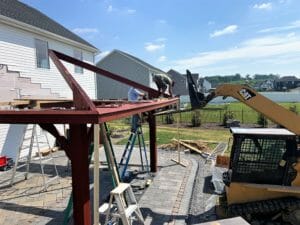
Step 4: Building the Pavilion
Raising this large, well-crafted pavilion, was no easy task. Weighing a few hundred pounds, our crews labored to install the structure piece by piece. Finally, the ceiling fan could be hung and the siding reinstalled on the house – the space was defined and the vision was coming to life.
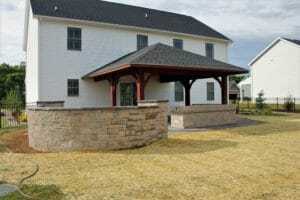
Step 5: Finishing Touches
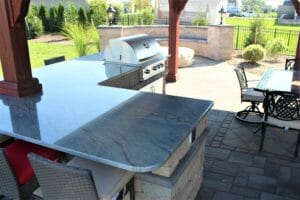
Once all the heavy lifting is done and the finish line is in sight, it’s time for the finishing touches – the things like placing the grill and fridge, installing the kitchen marble veneer and countertop, wiring the lights on the sitting wall, testing the firepit, removing tools and equipment from the premise, and fixing the lawn and landscape. Essentially, the homeowners get to move back in and become reacquainted with their new space.
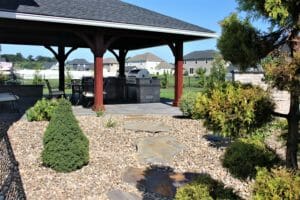
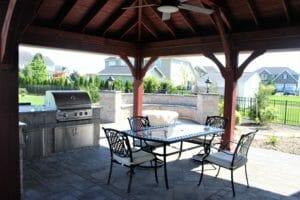
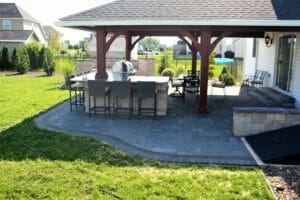

It’s in this final step that our clients realize it was all worth it – that our process works and that we do things right the first time. Now, it’s time to exhale and allow our clients to enjoy their ultimate outdoor living space.
ALSO FIND US ON:
![]()
![]()