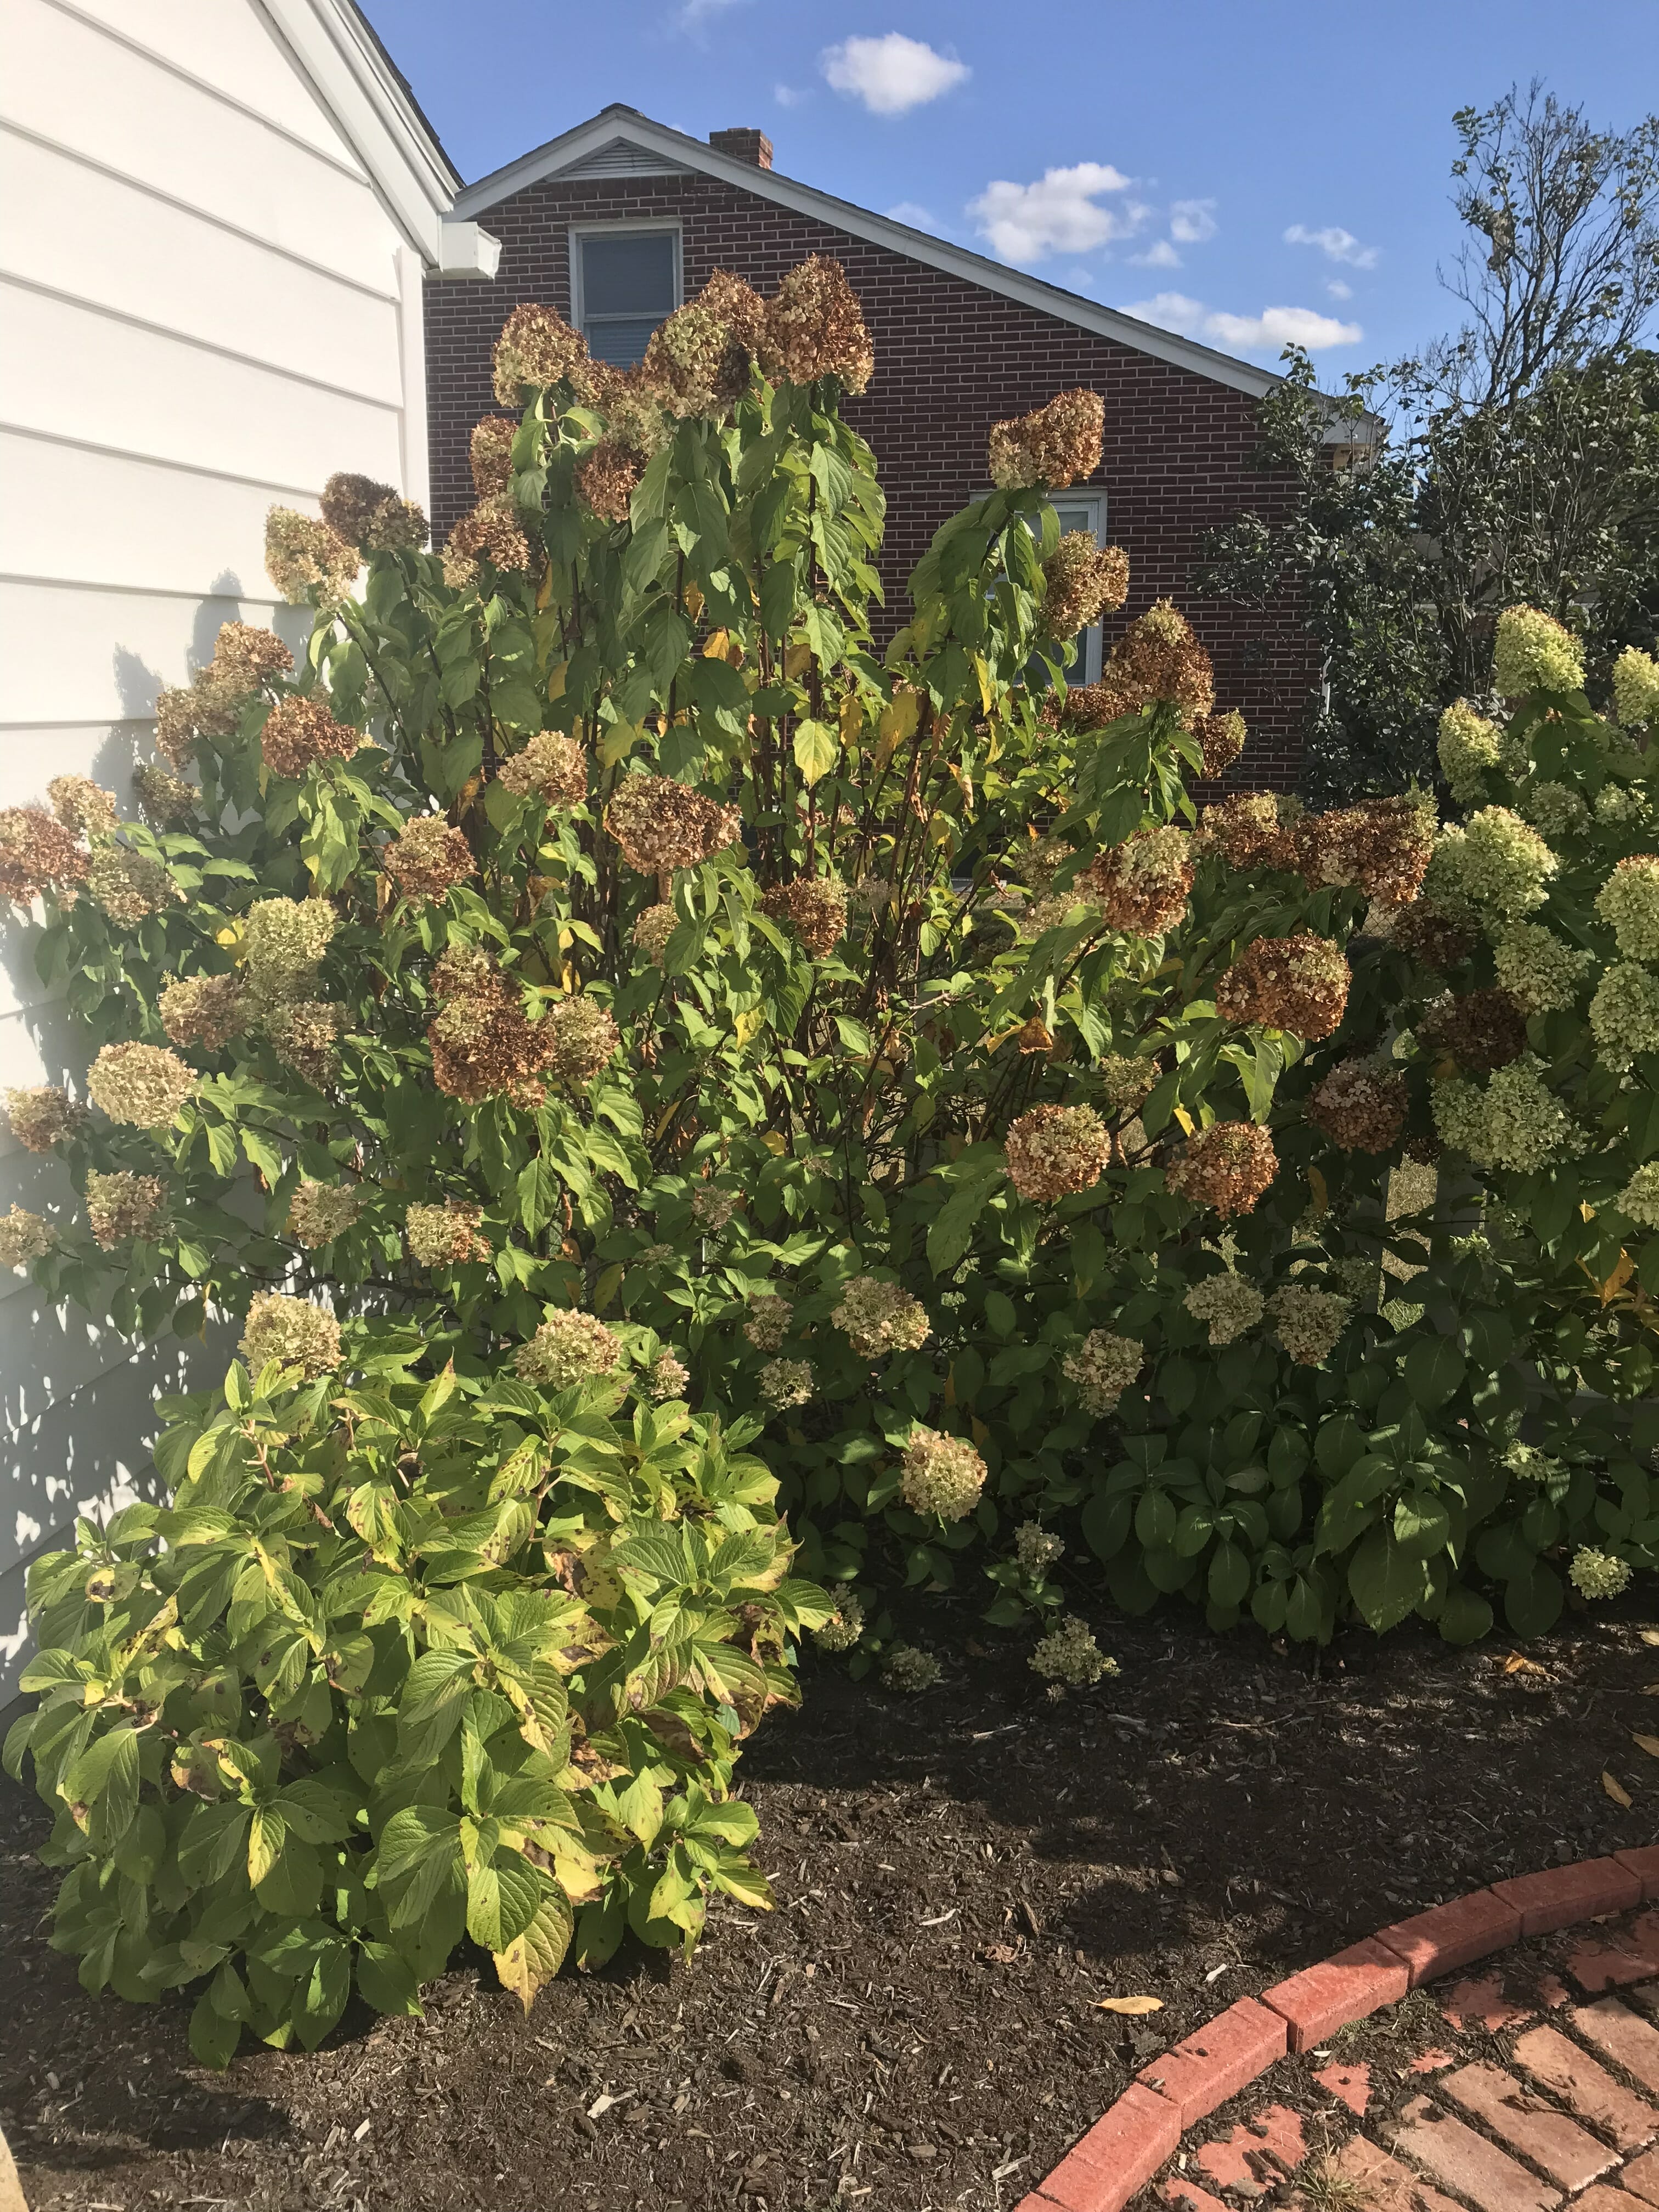
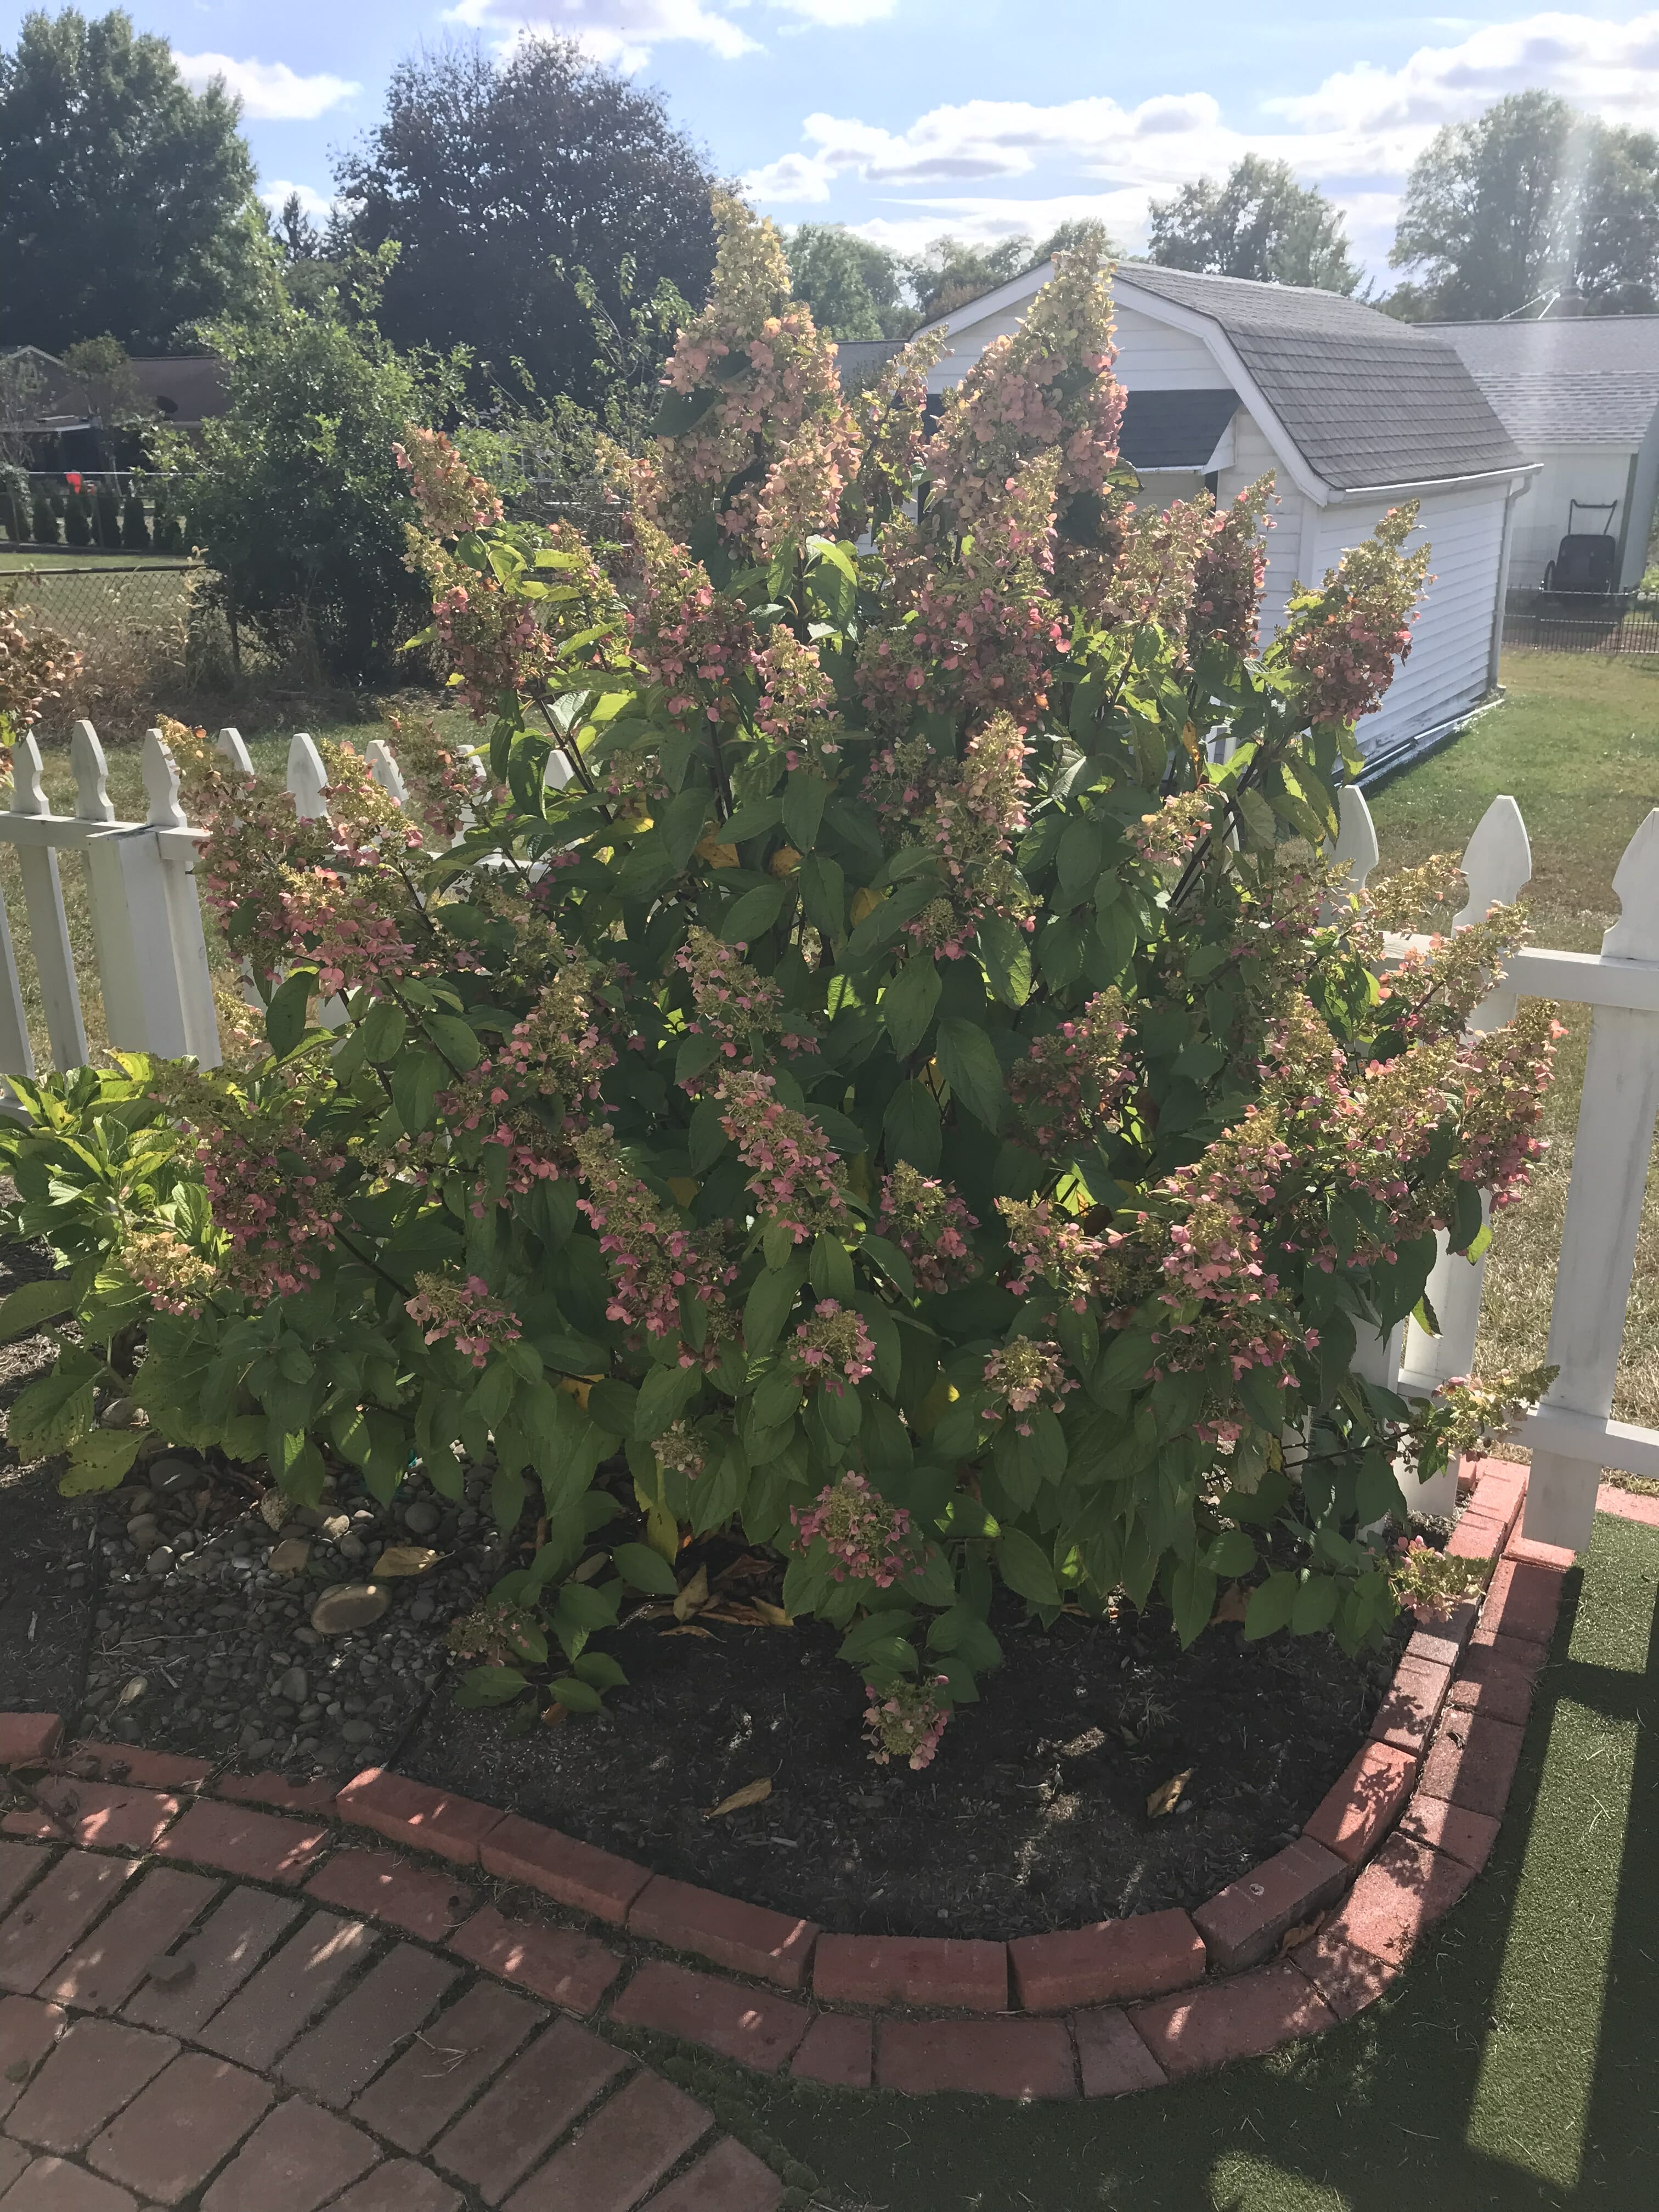
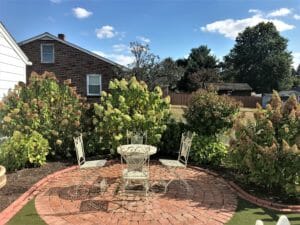
As the season turns and we trade our flip flops for sweaters, it’s also the time of year when many of our flowering perennials, especially hydrangeas, begin to brown and fade. Although sad, it’s the natural cycle of growth and hibernation.
To get your hydrangeas ready for winter, we put together a simple list of to do’s which will help preserve your plants when the snow blankets the ground and ready them to bud when the birds begin to chirp again.
Step 1 – Trimming:
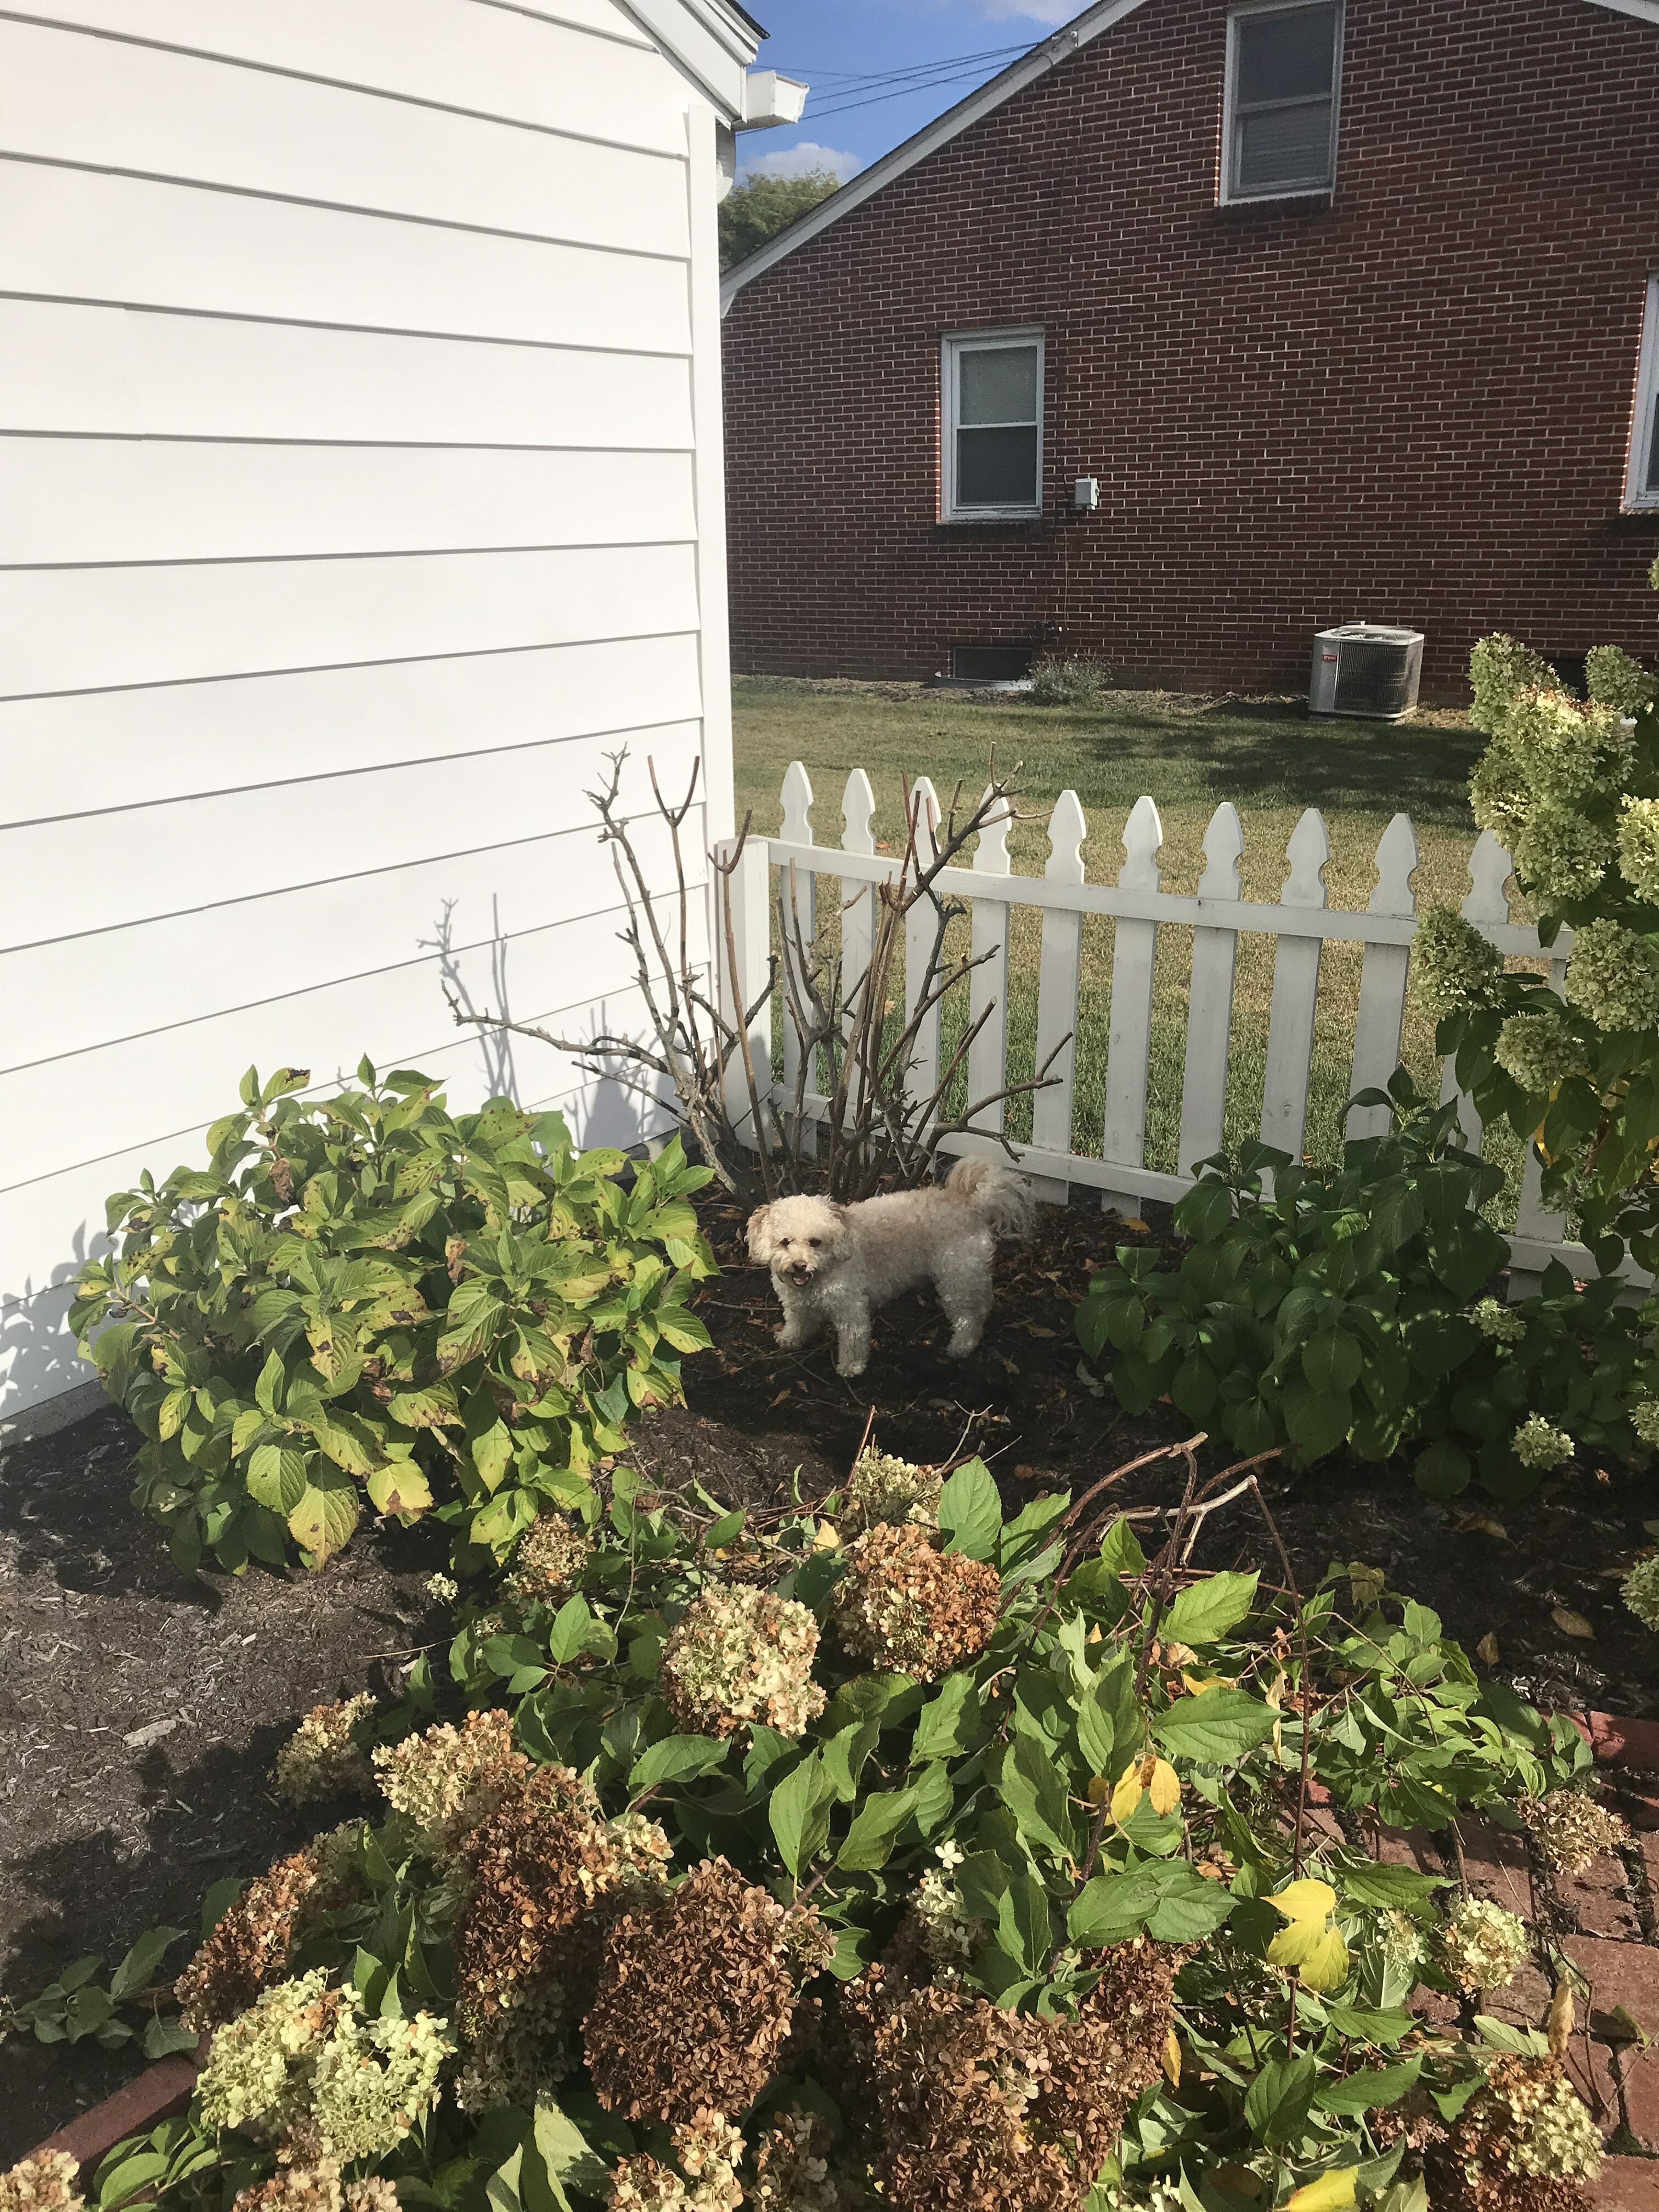
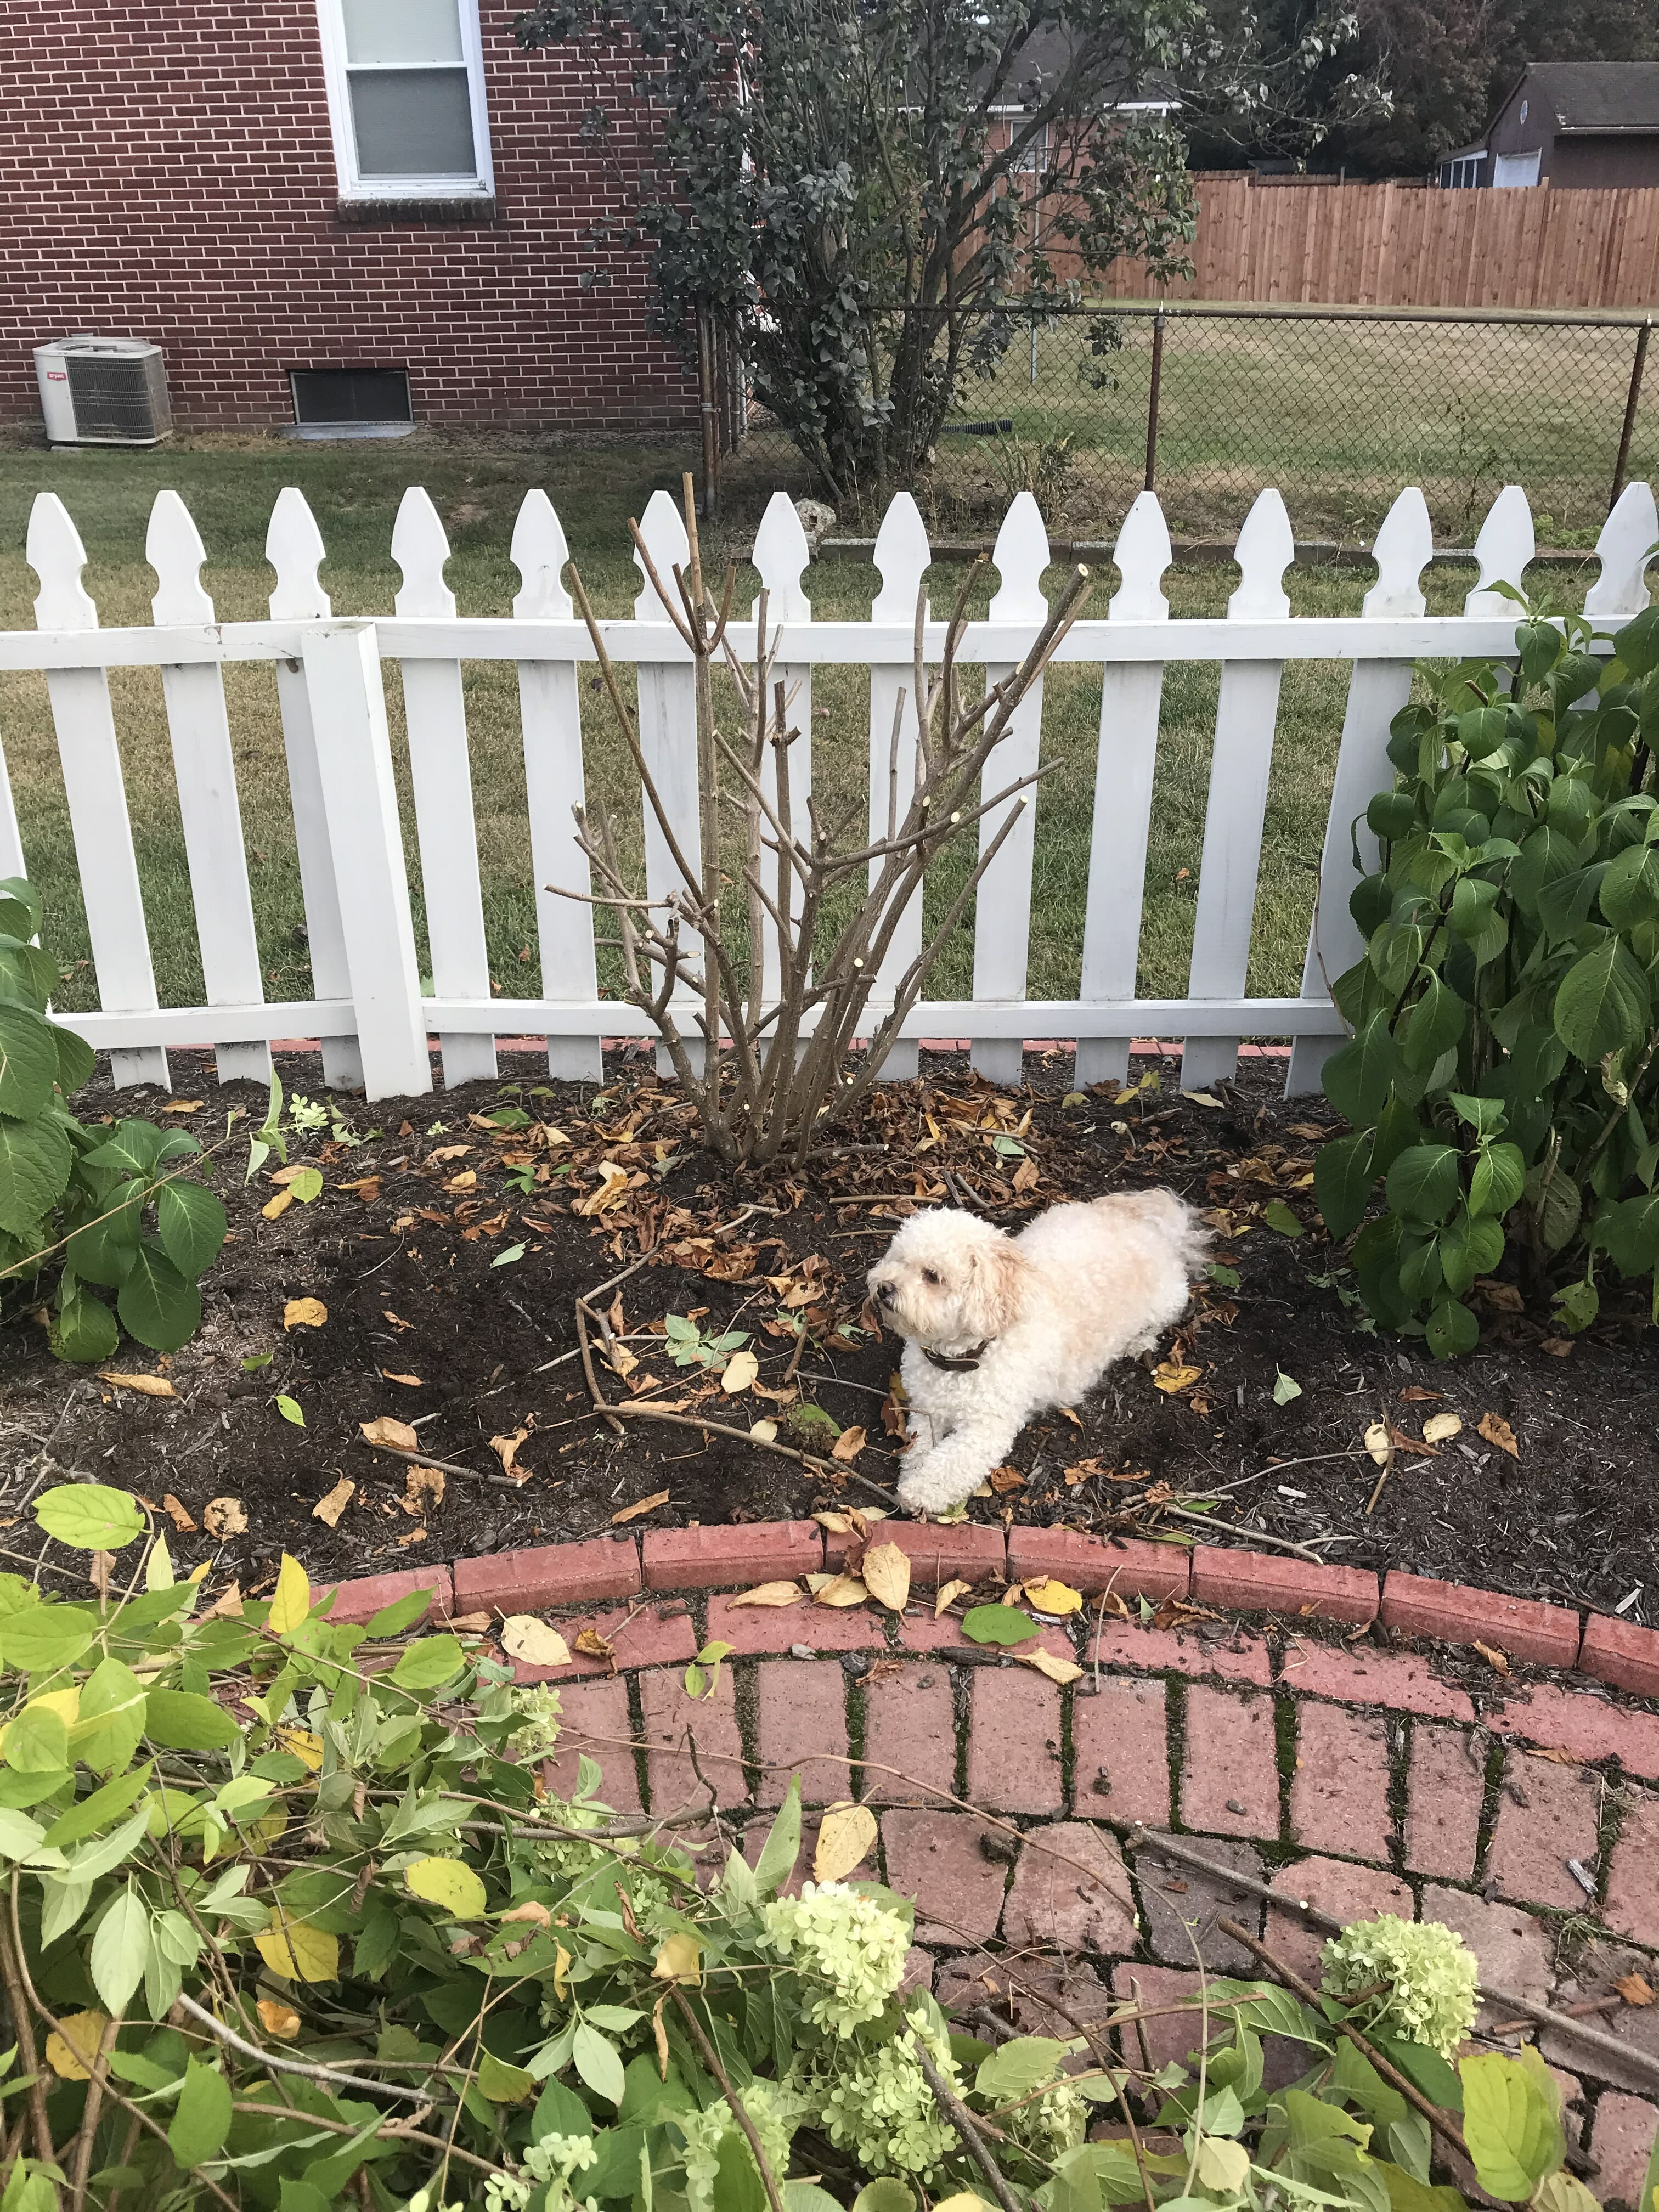
Wooden Stem: Because the blooms on wooden stem hydrangeas grow new every year, it’s perfectly fine to trim them back if overgrown for the space they are in. If you want them to get larger, trim lightly – right below the dead bloom—taking only the actual bloom.
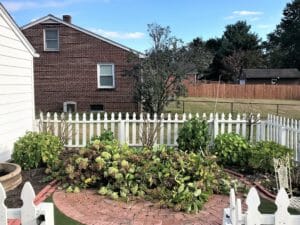
Soft Stem: Because the blooms on soft stem hydrangeas grow from the dead stems, it’s imperative that you don’t trim these plants in the fall because you would stunt the growth of it in the following year. Instead, trim them in the spring as they bloom which will foster new growth and fullness throughout the remainder of the summer growing season.
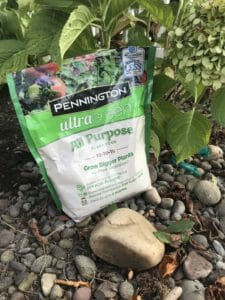
Step 2- Fertilizing:
For both wooden and soft stem hydrangeas, the fertilizing process is simple. Go to your local home and garden center and purchase a balanced fertilizer. The packaging should read 10-10-10 which also means it’s an “All-Purpose” mixture.
The 10-10-10 on the packaging stands for equal percentages of nitrogen (N), phosphorus (P), and potassium (K) in the mixture giving you a fertilizer filled with nutrients for mature perennials in good soil.
Following the quantity instructions on the back of the package, make sure to remove about ½ inch of mulch around the plant so the fertilizer can penetrate the root system and not just sit on top of mulch. Once the fertilizer has been spread around the drip line of the plant, put the mulch back and water lightly.
Step 3- Acidifying:
Although this part of the process can become scientific, we will keep it simple. Purchase an acidifier and do as you did with the fertilizer; moving back the mulch and dispersing 1.25 cups of the mixture around the drip line of the plant.
After you have completed this process, remember:
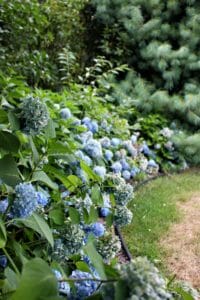
- White Hydrangeas are unaffected by soil acidifier thus, their color can’t be changed.
- If you want to turn your hydrangeas blue, increase the acidity level of the soil.

Now, it’s time to stop reading and head outside to put your newfound knowledge of fall hydrangea care to the test. Happy trimming, fertilizing and acidifying – we promise your efforts this autumn will pay off in the spring!