All of us at Rosenbaum’s Landscaping & Nursery anticipate this time of year with arms wide open. It’s the time when the nursery receives new shipments of plants, begins to brim with buds and blooms and, just like the plants, we all start to awaken and embrace the maturation process we went through in the winter.
It’s during this season that we have a hand-full of clients ask us to help them plant their spring annuals and, if we are honest, we won’t complain. Officially, we offer this service as part of our Estate Maintenance package. Unofficially, we love this time of year and want others to feel the same way. So, if you decide to hire us – Great, we’d love to help! But, if you wanted to try planting on your own and saving some money, more power to you!
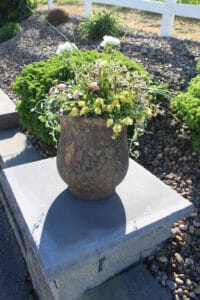
If you’ve opted for the latter, here’s a quick and simple guide on how to build your very own statement urn. Let’s get to it, shall we?!?
THINGS YOU WILL NEED:
- Urns or pots
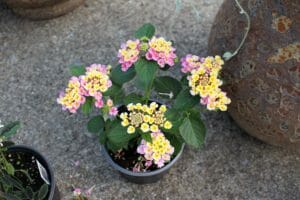
- Flowers
- Potting Soil
- Fertilizer
THINGS TO CONSIDER:
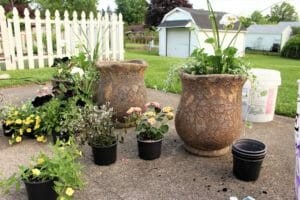
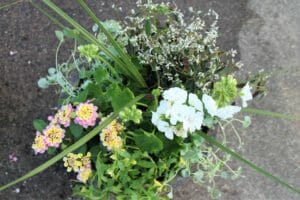
Choose plants with height, fillers, and drapers to create a full, well balanced urn
Choose plants with different shades of green, leaf texture and size, and complimentary colors
Choose plants that will do well in the spots you place them – so make sure to read the little tags!
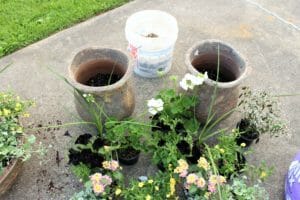
LET THE BUILDING BEGIN:
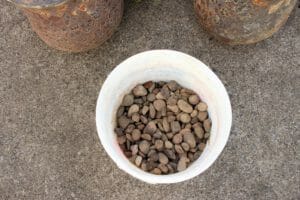
- 1st – Place river stone (or whatever smaller stone you have available) in the bottom of your urn for good drainage. We typically place about 2 inches to 5 inches of stone in the base of the urn however, this all depends if your planter stands tall or spreads wide.
Hint: The taller the urn, the more rocks you should place in the base. The wider the urn, the less rocks you should add.
- 2nd – Place soil in the urn until the rocks are covered and there is approximately 3 to 6 inches of space at the top of the urn
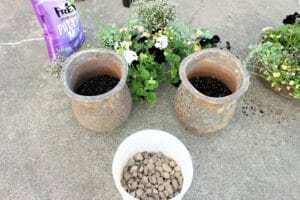
- 3rd – Sprinkle the recommended amount of fertilizer over the potting soil. The fertilizer packaging should tell you how much to use depending on the space you are working with.
- 4th – Before taking your plants out of the plastic carrying pots, design the layout of your urn by physically placing your plants in the urn. This is a trick we use because it allows us to easily move the plants to different sections of the urn or replace them entirely without having to worry if the plant and the root system were damaged.
- 5th – Once you determine the layout of your urn, remove the plant from the plastic pot, score the roots, and watch your urn take shape!
Hint: Scoring means to break up the roots of the plant allowing it to freely grow into the space you place it. You can do this by pulling apart the root system but make sure not to pull it completely off!
- 6th – Place your plants loosely in the container arranging them with the height in the back or middle, the fillers as the next layer and your draping plants closest to the sides of the urn.
Hint: Always work your way from the middle of the urn to the outside of the urn. This gives a better visual of your design, ensures the urn is symmetrical, and enables you to actually see what you’re doing.

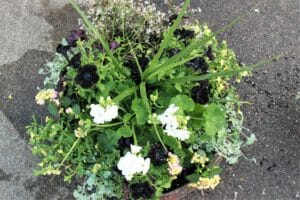
- 7th – Once all plants are potted, if you notice gaps in the soil between the plants, fill in with additional soil. This will not only hold the plants in place, but it will also enable them to acclimate to their new environment because their roots are secure.

- 8th – Water your plants! This will help the soil to settle in the urn and plants to get re-hydrate after the move.
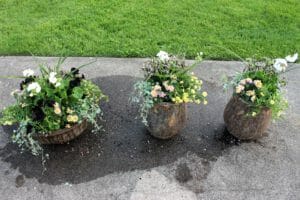
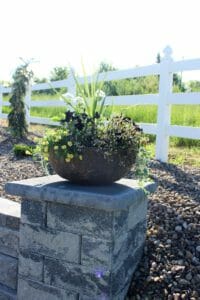
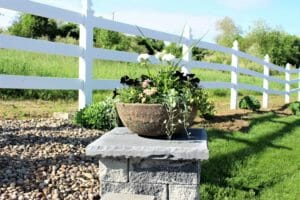
- Final step – admire your creation and place your urns around your home for all your neighbors to see!
When it comes to planting, even if you feel like a timid amateur or a confident professional, we want to encourage you to enjoy the process and get after it – trying new things and pushing the boundaries. Just know, sometimes this mindset will pay off and other times your creation might fall short but, the positive is that you learned something new and you tried something different. No matter the outcome, the process of transformation is always fascinating whether with an urn, an outdoor living space, or with you. So, enjoy the process and embrace the change!